While many homeowners tackle installing underfloor insulation to save energy costs, few truly understand the nuances. Did you know that properly installed insulation can reduce your heating bills by up to 15%? This guide offers step-by-step advice on how to install underfloor insulation effectively and why, in some cases, enlisting professional help might be your best bet.
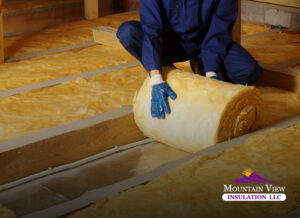
Effective Installation of Underfloor Insulation
Before you begin, understanding the variety of insulation materials available and their impact on your home’s thermal efficiency is crucial. Selecting the right type can significantly improve your comfort and reduce energy bills.
Choosing the Right Insulation Material
Insulation options vary, each offering distinct benefits:
- Fiberglass: Widely favored for its cost-effectiveness and ease of installation. Moreover, it’s accessible in most hardware stores.
- Foam Board: Not only does it provide excellent thermal resistance, but it also excels in moisture control, making it ideal for humid areas.
- Spray Foam: Although more costly, its airtight seal can dramatically enhance insulation effectiveness.
Preparing for Installation
Initially, clear your workspace. Removing debris or old insulation is essential for a tidy installation process. Furthermore, addressing moisture issues is critical as they can compromise the new insulation’s effectiveness.
Detailed Step-by-Step Installation Guide
- Measure Your Space: Start by accurately measuring the area to ensure you purchase the right amount of material.
- Cut the Insulation: Next, tailor the insulation to your measurements. A sharp utility knife or a hand saw is necessary for precision.
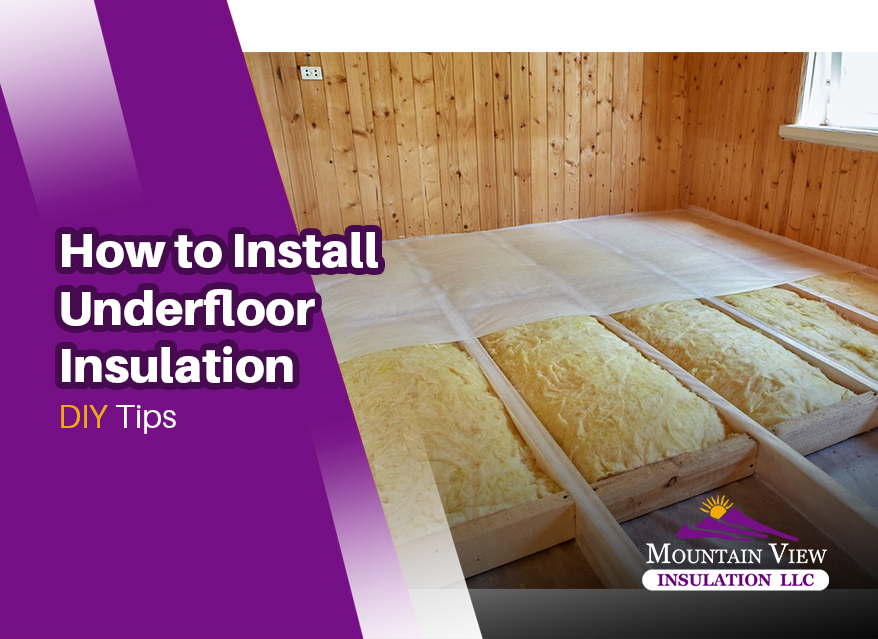
- Fit Insulation: Install the insulation between the joists, ensuring it fits snugly without gaps.
- Secure the Insulation: Use staples or adhesive to ensure the insulation remains firmly in place.
Additional Installation Tips
- Sealing: After installing the insulation, sealing any visible gaps with caulk or foam can prevent air leaks, further improving energy efficiency.
- Layering: Consider doubling the insulation layer in colder climates to enhance thermal retention.
- Inspection: Periodically check the insulation for any displacement or damage, especially after severe weather conditions.
Safety Tips
Safety is paramount. Always wear protective gear such as gloves, masks, and goggles. Additionally, ensure the area is well-ventilated, particularly when handling materials like fiberglass or spray foam.
When to Call a Professional
While undertaking a DIY project can be fulfilling, hiring a professional ensures optimal installation quality and safety. Professionals are adept at managing unexpected challenges like irregular joist spacing or potential mold issues, guaranteeing the insulation’s performance.
Long-Term Benefits and Maintenance
Properly installed underfloor insulation reduces heating and cooling costs and increases the overall comfort of your home. Regular maintenance and inspections ensure the insulation performs at its best, making your investment worthwhile.
We hope this comprehensive guide will adequately prepare you for the task. However, it also highlights the complexity involved in such projects. Following these detailed steps will make you well on your way to a warmer, more energy-efficient home.
Wrapping Up: Expert Tips on How to Install Underfloor Insulation
Installing underfloor insulation yourself can be a rewarding project that significantly enhances your home’s energy efficiency. However, the complexity of the task can sometimes be overwhelming. If you find the process daunting or run into unexpected issues, do not hesitate to contact a professional. Their expertise can ensure the job is done right, providing peace of mind and long-term benefits.
Remember, the right insulation can transform your home’s comfort and cost-efficiency. Ready to take the next step? Contact us today for expert advice and installation services.

